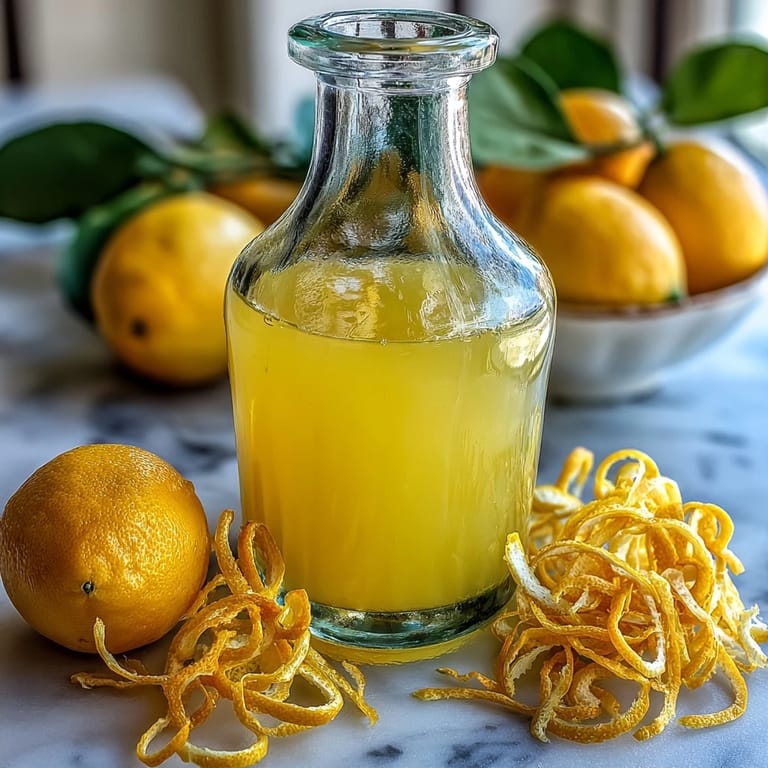
 Pin it
 My neighbor Marco handed me a tiny glass of limoncello on a humid summer afternoon, and I understood immediately why Italians guard their recipes like family secrets. That first sip hit differently—bright, clean, almost dangerous in how perfectly it cut through the heat. Years later, I finally asked him to teach me, and what surprised me most wasn't the complexity but the patience it demands. Making limoncello isn't about rushing; it's about trusting time to do the heavy lifting while you simply wait in anticipation.
I made my first batch when my daughter was learning Italian in school, thinking it would be a fun project to show her how food connects to culture. By week three of infusion, she was checking the jar daily, watching the clear alcohol transform into this golden liquid. When we finally bottled it and gave a bottle to her Italian teacher, the approval in that woman's eyes felt like we'd both passed some unspoken test. That's when I realized this recipe was about more than flavor—it was about creating something real with your hands.
Ingredients
- 8 large unwaxed organic lemons: This is non-negotiable; waxed lemons will infuse that coating into your spirit, which tastes like regret. Organic lemons are worth seeking out at farmers markets or specialty stores.
- 750 ml pure grain alcohol (95%) or 100-proof vodka: The higher proof matters because it extracts flavor more efficiently and preserves your infusion beautifully. Grain alcohol gives cleaner results, but vodka works when it's what you can find.
- 600 ml water: Use filtered or spring water if your tap water is heavily chlorinated; you'll taste the difference in the final syrup.
- 400 g granulated sugar: White sugar keeps the limoncello bright and clear; don't substitute with alternatives unless you want a murky result and altered taste.
Tired of Takeout? 🥡
Get 10 meals you can make faster than delivery arrives. Seriously.
One email. No spam. Unsubscribe anytime.
Instructions
- Scrub and dry your lemons like you mean it:
- Hot water and a firm hand remove any residue or wax that could cloud your final product. Pat them completely dry with a clean towel—any moisture lingering on the skin will dilute the alcohol.
- Peel the zest with surgical precision:
- A vegetable peeler works better than a microplane here because you want ribbons, not dust. Work slowly around each lemon, stopping the moment you hit white pith; that bitter part ruins everything if you're not careful.
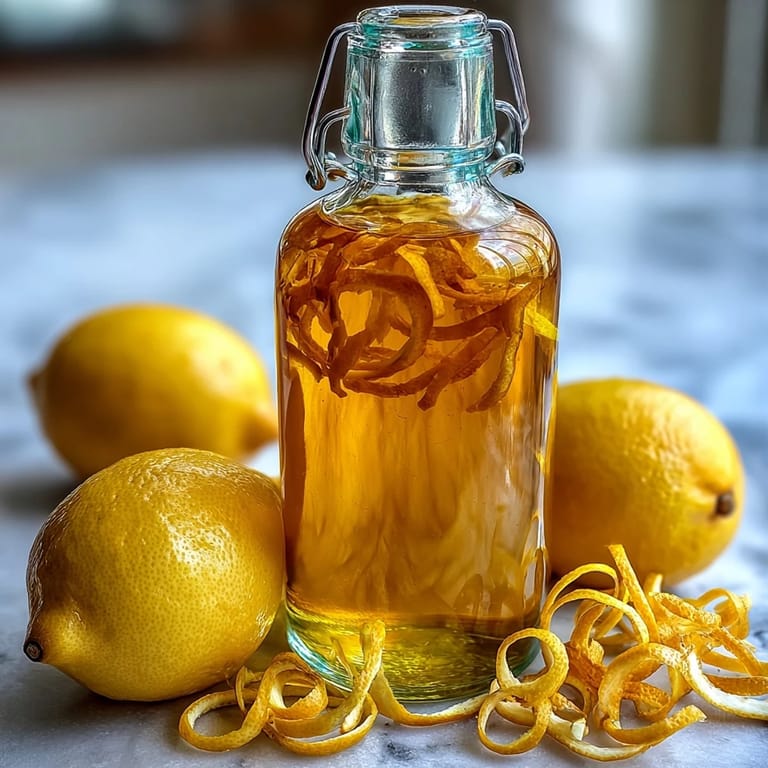
- Pack your jar and pour the alcohol:
- Layer the zest into your glass jar, then pour the alcohol over until everything is submerged. Seal it tight and place it somewhere cool and dark—a basement shelf or back of a cupboard works perfectly.
- Wait, shake, and resist opening it:
- Every two days, give the jar a gentle shake to redistribute the zest and encourage extraction. The waiting is the hardest part; resist the urge to open it early just to smell it.
- Make your syrup when infusion time is up:
- Combine water and sugar in a saucepan over gentle heat, stirring until the sugar dissolves completely. Pour it onto a plate to cool faster, or let it sit at room temperature until it stops steaming.
- Strain out the zest carefully:
- Pour the infused alcohol through fine mesh or cheesecloth into a clean bowl, letting it drip without forcing it. The zest should be spent and pale; if it still smells intensely lemony, you've extracted perfectly.
- Marry the alcohol and syrup:
- Combine them in a clean jar, stirring well to blend the flavors evenly. This step transforms two separate components into something unified and smooth.
- Bottle and let it rest:
- Pour into sterilized bottles with airtight seals and let them sit for at least a week before tasting. This resting period allows everything to meld and mellow in ways that happen quietly, without you doing anything at all.
- Serve it ice-cold and appreciate the result:
- Keep your bottles in the freezer and pour small glasses straight from there. The cold transforms it into something almost silky, the kind of sip that makes you close your eyes.
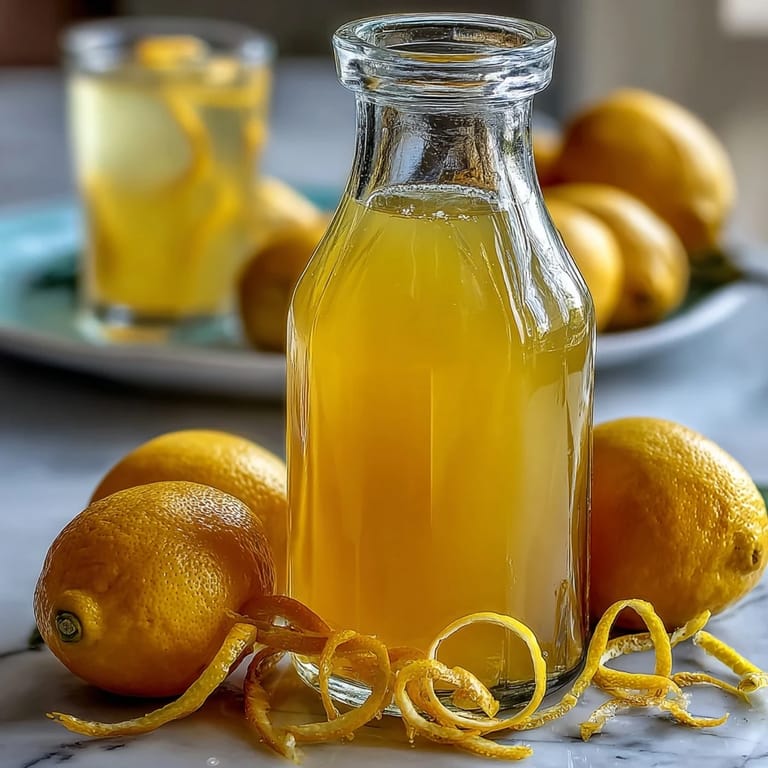 Pin it
 Last winter, my partner was stressed about a work presentation and came home drained. I poured him a small glass of limoncello we'd made months earlier, straight from the freezer. He took one sip, set it down slowly, and said, 'That tastes like someone loves you.' I'd never thought of it that way before, but he was right—making something this good for the people around you is a form of care that words sometimes can't match.
Choosing Your Lemons
The quality of your lemons determines everything, so don't let this step feel trivial. I learned this by accident when I grabbed waxed supermarket lemons once because I was in a rush; the resulting batch tasted slightly soapy, like the wax had translated into the final drink. Organic, unwaxed lemons from farmers markets or specialty grocers cost a bit more but deliver lemons that smell almost perfume-like before you even start peeling. Meyer lemons, if you can find them, add a slightly floral note that's elegant and unexpected, though Eureka or Lisbon lemons work beautifully for a more traditional sharp-and-clean profile.
The Patience Game: Infusion Timing
Ten days of infusion gives you limoncello, but thirty days gives you something transcendent—the alcohol slowly extracts deeper flavor compounds from the zest, creating complexity that feels almost magical. I've tried rushing it by using high heat or extra agitation, and every time the result tastes flat or harsh compared to letting time do the work. There's wisdom in those weeks of waiting; they teach you that some things can't be hurried, and that's not a loss—it's a gift.
Bottling and Gifting
Limoncello in a beautiful bottle becomes something precious, a gift that says you took time and care to make something special. I've collected small glass bottles with cork tops specifically for this purpose, and I usually tie a small label around the neck with the date and a note about how to serve it. People consistently report that homemade limoncello is the gift they remember, partly because it's delicious but also because someone made it, which changes everything about how it tastes.
- Sterilize your bottles by running them through a hot dishwasher or boiling them briefly, then let them air dry completely before filling.
- Wrap finished bottles in tissue paper or kraft paper for gifting—the presentation matters as much as what's inside.
- Include a note suggesting it be served straight from the freezer in small glasses as an after-dinner sipper or digestif.
 Pin it
 Making limoncello teaches you that the best things often require you to slow down and trust a process larger than yourself. When you finally pour that first proper glass months after you started, and it tastes exactly like summer in liquid form, you'll understand why Marco guarded his recipe so carefully.
Recipe FAQ
- → What type of lemons works best?
Organic, unwaxed lemons are preferred for clean zest and safety. Meyer lemons can add a floral note.
- → How long should the infusion process last?
The zest should steep in alcohol for 10 to 30 days; longer infusion intensifies the lemon flavor.
- → Can I substitute the alcohol used for infusion?
Yes, high-proof grain alcohol is ideal, but 100-proof vodka can be used if unavailable.
- → How is the syrup made for blending?
A simple syrup is prepared by dissolving granulated sugar in water over gentle heat, then cooled before mixing.
- → What is the best way to serve the final liqueur?
Chill the liqueur well and serve in small glasses straight from the freezer for optimal flavor.