 Pin it
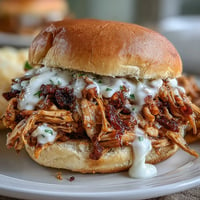
 The first time I made these in my new air fryer, I was skeptical that something so quick could actually taste like it came straight from a restaurant kitchen. But standing there watching the chicken turn that perfect golden brown through the little window, listening to that gentle hum, I realized I'd stumbled onto something that would become a weeknight staple. My kids asked for seconds before I'd even plated everything, which says everything you need to know.
I remember my partner coming home mid-cook and asking what smelled so good, only to discover it was chicken tenders, not some fancy braise he'd expected. That's when I knew this recipe had crossed over from easy weeknight food into something that actually feels like you put effort in, even though you barely did.
Ingredients
- Chicken tenders or breast strips (500g): Pat them completely dry before coating or they'll steam instead of crisp, which is the whole point of this recipe.
- Whole-wheat breadcrumbs (75g): These give you the crunch you're after while keeping things on the healthier side, though panko breadcrumbs are your secret weapon if you want next-level texture.
- Grated Parmesan cheese (30g): It adds savory depth and helps the breading stick, plus it toasts up beautifully in the hot air.
- Smoked paprika, garlic powder, onion powder, oregano (1 tsp, 1/2 tsp each): These are your flavor foundation, and honestly, you can adjust them to whatever you're in the mood for without ruining anything.
- Salt and black pepper (1/2 tsp and 1/4 tsp): Taste as you go because everyone's salt tolerance is different.
- Eggs and milk (2 eggs, 2 tbsp milk): This is your glue, and the milk thins it out so you get a thin, even coat instead of clumpy patches.
- Olive oil spray: Just a light mist is all you need to get that golden color and crispiness going.
Tired of Takeout? 🥡
Get 10 meals you can make faster than delivery arrives. Seriously.
One email. No spam. Unsubscribe anytime.
Instructions
- Get everything ready:
- Preheat your air fryer to 200°C (400°F) while you lay out the chicken tenders on paper towels and pat them down. Dry chicken is the difference between crispy and soggy, so don't skip this step even if you're in a hurry.
- Build your coating station:
- Set up your bowls in a line: eggs and milk whisked together in one, the breadcrumb mixture (all dry ingredients combined) in another. This assembly line approach keeps things tidy and lets you keep your fingers (mostly) clean.
- Coat with intention:
- Dip each chicken strip into the egg mixture, let the excess drip off for just a second, then roll it in the breadcrumb mix. Press gently so the coating clings instead of falling off during cooking, but don't squeeze it or you'll compress the crust.
- Spray and arrange:
- Place the coated chicken in a single layer in your air fryer basket, then give both sides a light spray of olive oil. This is what transforms them from okay to genuinely crispy, so don't be stingy but don't soak them either.
- Cook until golden:
- Air fry for 10-12 minutes, flipping them halfway through so both sides get equal heat. They're done when they're golden brown and the internal temperature hits 75°C (165°F).
- Finish strong:
- Pull them out and let them sit for just a minute before eating, which gives the coating time to set. Serve immediately with whatever sauce you're craving.
 Pin it
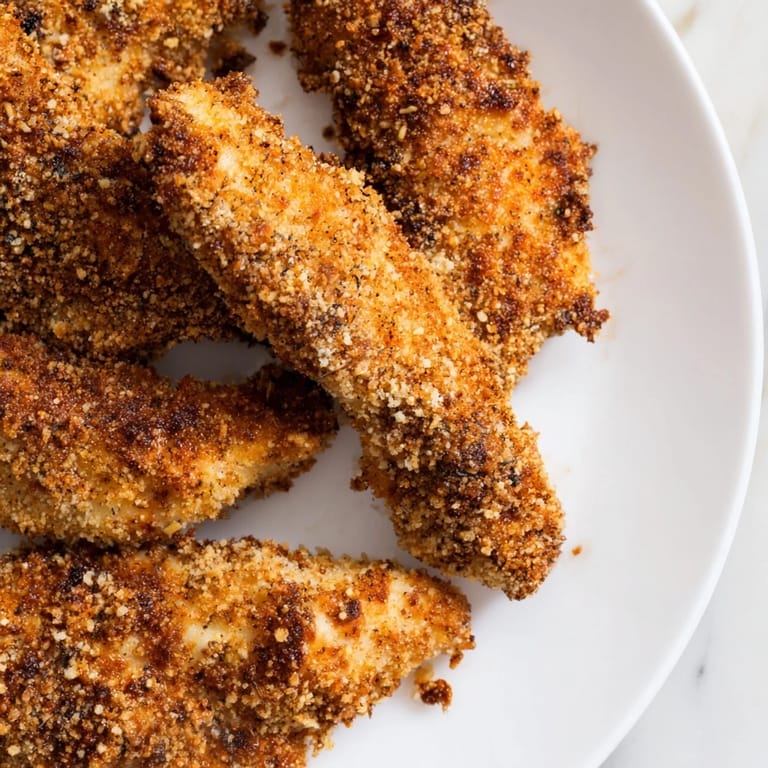
 There's a moment that happens every time I make these where someone walks into the kitchen mid-cook, smells that Parmesan and paprika toasting in the heat, and immediately knows dinner is going to be good. That small thing—the smell hitting you before anything else—is what turned a simple healthy hack into something I actually crave.
Why the Air Fryer Wins Here
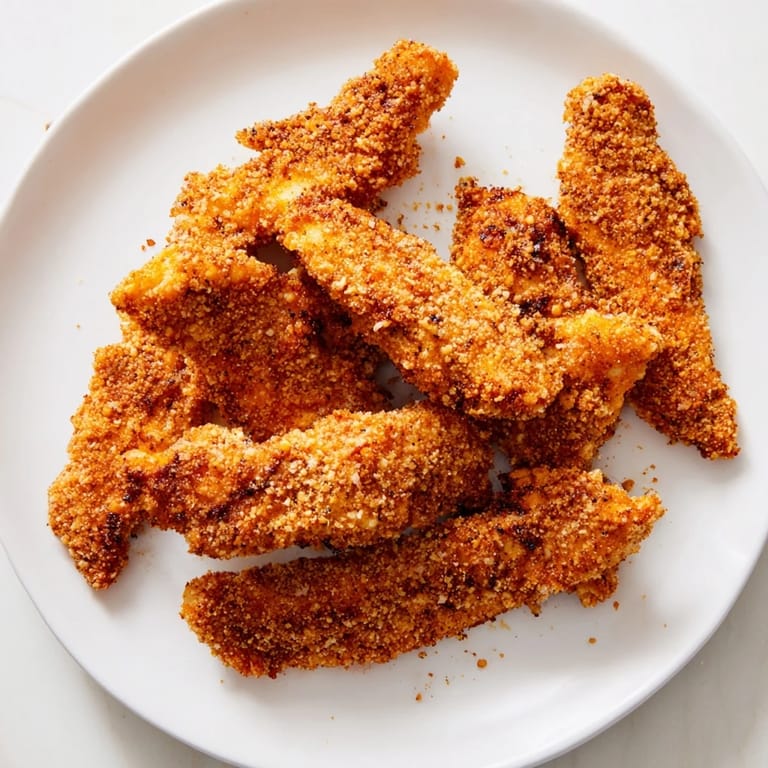
The air fryer doesn't just cook these faster; it cooks them differently. The circulating hot air gets into every crevice of the coating, creating crispiness that traditional baking can't touch. I've tried the oven version (and included it below in case you don't have an air fryer), but something about the speed and texture of the air fryer just works. It's one of those appliances that actually earns its counter space.
Flavor Tweaks That Make Sense
The beauty of this recipe is how forgiving it is with spice adjustments. Smoked paprika is my go-to because it adds depth without heat, but I've made versions with cayenne when I wanted a kick, and with Italian seasoning when I was going for something completely different. The baseline is seasoned well enough that you can absolutely riff on it without starting from scratch.
Serving and Storage Strategy
Serve these hot and crispy straight from the basket if you can, but if you need to make them ahead (I do this on Sunday for easy weekday meals), they reheat beautifully in the air fryer at 180°C for about 3 minutes. The coating stays intact and doesn't get soggy like it would in a microwave.
- A Greek yogurt-based dip with fresh dill hits different than the usual ketchup route, trust me on this.
- Pair them with a fresh salad or roasted vegetables to balance out the meal and make yourself feel virtuous.
- Keep them in an airtight container in the fridge for up to 3 days if they last that long.
 Pin it
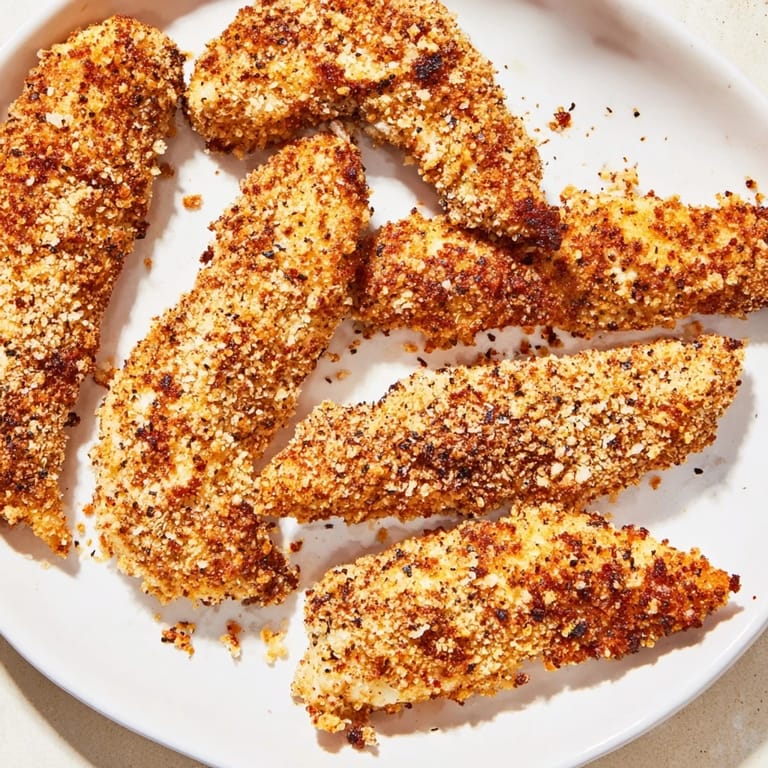
 What started as a quick weeknight solution turned into the thing I make when I want something that feels indulgent but doesn't weigh me down. That's the real magic here.
Recipe FAQ
- → What type of chicken cuts work best for this dish?
Boneless, skinless chicken tenders or breasts cut into strips provide the best texture and cook evenly.
- → Can I make the coating dairy-free?
Yes, swapping Parmesan cheese with nutritional yeast offers a dairy-free, savory alternative while maintaining flavor.
- → How do I achieve extra crunch in the coating?
Using panko breadcrumbs instead of whole-wheat crumbs enhances crispiness for a crunchier finish.
- → What if I don’t have an air fryer?
You can bake the coated chicken strips in a convection oven at 220°C (425°F) for 15–18 minutes, flipping halfway for even crispness.
- → Are there allergy considerations to keep in mind?
This dish contains eggs, dairy, and gluten; use gluten-free crumbs and omit Parmesan for allergy-friendly options.