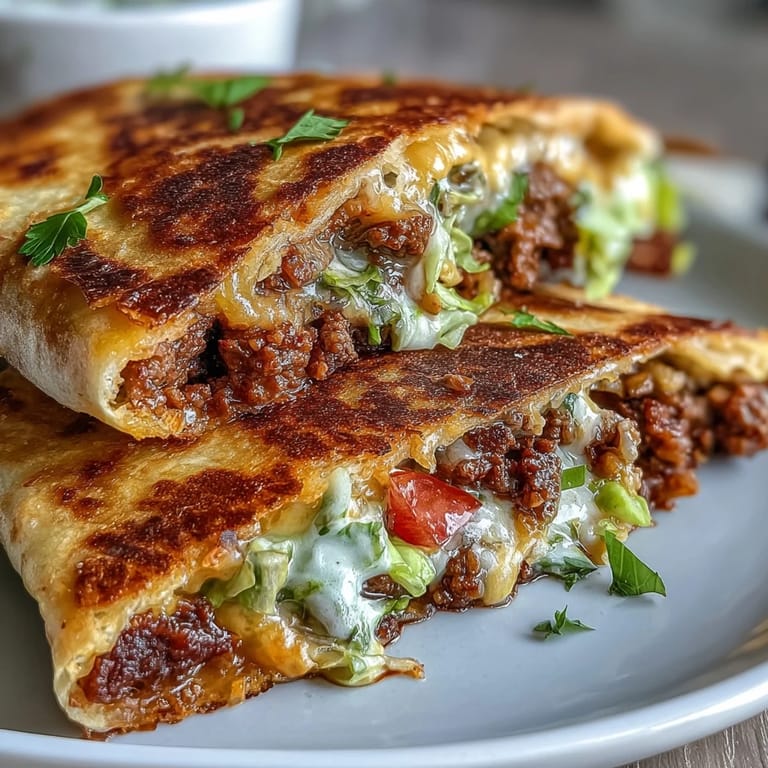
Pin it
 My friend texted me at 11 PM on a Tuesday asking if I could make something that tasted like a Crunchwrap but wouldn't kick her out of ketosis. I laughed, but then I got curious—what if I actually could recreate that crispy, folded masterpiece without the carbs? Three hours later, I was standing in my kitchen with almond flour on my hands and a hexagon-shaped creation that genuinely tasted like the real thing. That night changed how I thought about keto cooking.
I made these for a game day gathering where half my friends were keto-curious and the other half thought I was a little strange for giving up regular carbs. By halftime, both camps were asking for seconds, and someone actually said, 'This is better than the real thing' while dunking theirs in guacamole. Watching people's faces when they realized it was low-carb taught me that good food doesn't need an apology.
Ingredients
- Almond flour: This is the backbone of your tortilla, and it needs that xanthan gum to bind everything together like regular flour would.
- Coconut flour: Use it sparingly because it absorbs moisture like nobody's business; I learned this the hard way with a batch that turned into a brick.
- Xanthan gum: Non-negotiable for texture, but measure carefully or your dough gets gummy instead of pliable.
- Ground beef: Choose 80/20 lean to fat ratio for the best flavor and texture; too lean and it tastes like gym class.
- Chili powder, cumin, paprika: This seasoning blend is what makes your brain think 'Taco Bell' the moment you taste it.
- Pork rinds: Crushed into fine crumbles, they give you that fried exterior crunch without any guilt, and they add richness too.
- Sour cream: The cooling agent that balances all the spice and adds creamy luxury to every bite.
Tired of Takeout? 🥡
Get 10 meals you can make faster than delivery arrives. Seriously.
One email. No spam. Unsubscribe anytime.
Instructions
- Mix your dry tortilla base:
- Combine the almond flour, coconut flour, xanthan gum, baking powder, and salt in a bowl and whisk it together so there are no hidden pockets of flour waiting to surprise you. You're building the foundation for something that'll actually hold beef and cheese without falling apart.
- Bring the dough together:
- Add your eggs and olive oil, mixing with a fork until it starts looking shaggy, then add water one tablespoon at a time while stirring. Stop when the dough feels soft and slightly tacky but doesn't stick to your fingers like wet clay.
- Roll out your tortillas:
- Divide the dough into four equal balls, flatten each one between two pieces of parchment paper, and roll until it's thin enough to see light through it but sturdy enough to handle. If the edges crack, just press them back together gently.
- Cook the tortillas until golden:
- Heat your nonstick skillet to medium and carefully peel off the top parchment sheet, then slide the tortilla into the pan. Cook for about 1 to 2 minutes per side until the edges start to turn light golden and you smell that nutty, toasted aroma.
- Brown your beef with flavor:
- Heat olive oil in your skillet over medium heat, add the ground beef, and let it sit undisturbed for a minute so it develops a nice crust instead of just steaming. Once it's mostly browned, drain off the excess fat (but save a little for flavor), then add all your spices and water to create a savory sauce.
- Layer your components strategically:
- On each cooked tortilla, start with the seasoned beef in the center, then add cheese, crushed pork rinds, lettuce, tomatoes, sour cream, and jalapeños if you want heat. Think of it like building edible architecture where every layer matters for texture contrast.
- Fold into a hexagon and seal:
- Grab the edges of the tortilla and fold them toward the center, creating six pleats that meet in the middle, completely wrapping up your filling in an edible package. It should look like a little folded gift.
- Pan-fry until crispy:
- Place each wrapped crunchwrap seam-side down on a hot skillet or panini press and let it cook undisturbed for 2 to 3 minutes until it's golden and crispy. Flip gently and repeat on the other side, listening for that satisfying sizzle.
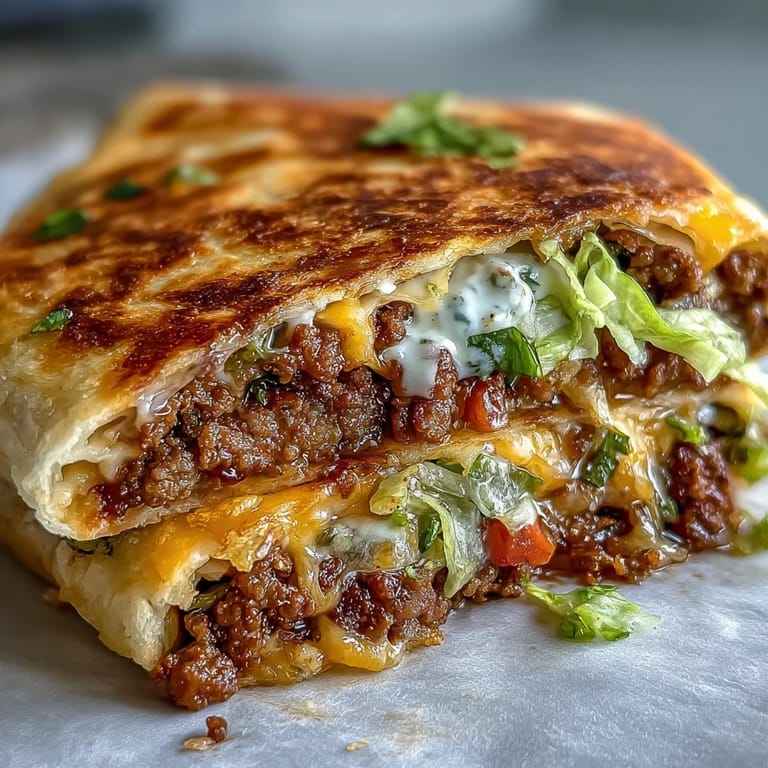
 Pin it
 My partner walked into the kitchen while I was plating these and said, 'Wait, you made these?' with genuine surprise in their voice. We ate them at the kitchen island without plates, just napkins and conversation, and I realized this recipe worked not just because it tasted good, but because it made eating feel like an occasion again.
The Tortilla Technique That Actually Works
Getting your keto tortillas right is 80 percent of your success with this recipe, and the secret is understanding that almond flour behaves completely differently than wheat flour. The dough should feel more like soft putty than traditional tortilla dough, and it needs less water than you think; I always start conservative and add more only if absolutely necessary. One mistake I made early was rolling too thick, which created tortillas that stayed doughy inside even though the outside was golden, so aim for paper-thin and you'll nail it every time.
Seasoning Your Beef Like a Pro
The magic of this copycat version lives in the beef seasoning, which should smell intense and almost overwhelming before you add it to the meat. Toast your spices briefly in a dry pan before mixing if you want to unlock even deeper flavor, but honestly, the combination of chili powder, cumin, and paprika together is already doing most of the heavy lifting. The small amount of water you add creates a light sauce that coats every piece of beef and makes it taste less like seasoning salt and more like actual food.
Assembly and Storage Wisdom
You can actually assemble these crunchwraps a few hours ahead and keep them in the fridge on a parchment-lined plate before pan-frying them; the ingredients meld together and it makes them even better. Cold crunchwraps fry up faster than room temperature ones, so that's actually a bonus if you're meal prepping for the week. They stay fresh for three days refrigerated, though honestly they never last that long in my house.
- Make sure your skillet is genuinely hot before placing the wrapped crunchwrap down so it sears immediately instead of steaming.
- If you don't have a panini press, a heavy cast iron skillet works beautifully and gives you better control over the browning.
- Serve these hot and crispy because that's when the textures really sing and the cheese is still melty enough to matter.
 Pin it
 This recipe proved to me that keto cooking doesn't mean missing out on the foods you love; it just means getting creative about how you build them. Make one of these tonight and taste exactly why your brain thought this was impossible until you actually did it.
Recipe FAQ
- → What makes this Crunchwrap keto-friendly?
The traditional flour tortilla is replaced with a homemade low-carb version using almond flour, coconut flour, and xanthan gum. This swap dramatically reduces carbohydrates while maintaining the pliable texture needed for folding and the structural integrity required for pan-frying.
- → Can I use store-bought low-carb tortillas instead?
Absolutely. Store-bought keto tortillas work well as a time-saving option. Look for large, pliable wraps with at least 8-10 inch diameter to ensure enough surface area for proper folding and sealing.
- → What gives the crunch without the tostada shell?
Crushed pork rinds provide the essential crispy layer that mimics the original tostada shell. They add authentic crunch while remaining completely keto-friendly. For extra crispiness, you can also melt a slice of cheese into a crispy cheese disc before assembling.
- → How do I get the hexagon shape when folding?
Place your filling in the exact center of the tortilla. Fold the edges toward the center in overlapping pleats, working your way around until all edges meet. The natural tension of the dough plus the filling bulk creates the signature hexagonal pattern.
- → Can I make these ahead for meal prep?
These Crunchwraps meal prep excellently. Assemble and cook them completely, then freeze individually wrapped. Reheat in a skillet over medium heat for 2-3 minutes per side to restore the crispy texture, or use a toaster oven at 375°F for 8-10 minutes.
- → What protein substitutions work well?
Ground turkey or chicken are excellent leaner options that absorb the taco seasoning beautifully. For a vegetarian version, crumbled tempeh or a plant-based ground meat alternative seasoned the same way works perfectly.