 Pin it
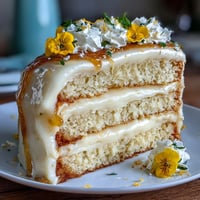
 Whisking together the flour and sugar for my Gemini Zodiac Cookies always reminds me of the sparkly chaos of a lively birthday party where conversations flow as freely as the laughter. The moment I butter the mixing bowl, the soft, sweet aroma fills the air, evoking smiles and fond memories of friends celebrating their unique traits. Each cookie, shaped like a star, echoes the whimsical duality of Gemini, with highs and lows perfectly represented in their buttery layers. As I sprinkle edible glitter on top, the kitchen transforms into a little slice of festivity. It’s like a whimsical artwork coming to life, made with love and a dash of celestial magic.
I remember the first time I made these cookies for a surprise birthday party. As everyone gathered around, the excitement was palpable, and the cookies quickly became the highlight of the dessert table. Watching my friends bite into them was a joy; each cookie was met with delighted expressions and an inquiry about the secret ingredient. Sharing these moments over laughter and zodiac banter turned the simple act of baking into a cherished memory. It's amazing how a plate of cookies can spark conversations about personality traits and birthday wishes.
Ingredients
- All-purpose flour: This is the backbone of the cookie, providing just the right structure for a perfect bite.
- Baking powder: A little boost to ensure your cookies rise beautifully.
- Salt: The secret ingredient to enhance sweetness and balance flavors.
- Unsalted butter: Softened to creamy perfection, it gives that light texture and rich flavor.
- Granulated sugar: Sweetens the dough and creates that delightful crispness.
- Egg: Essential for binding the ingredients and giving the cookies a soft crumb.
- Pure vanilla extract: Adds depth to the flavor, making every bite comforting.
- Lemon zest: Optional, but it brightens the taste, giving your cookies a cheerful zing.
- Powdered sugar: The base for the royal icing that makes these cookies shine.
- Meringue powder: Helps the icing set perfectly for a beautiful finish.
- Gel food coloring: Brightens your royal icing with celestial hues.
- Edible glitter: Makes your decorations sparkle like stars in the night sky.
Tired of Takeout? 🥡
Get 10 meals you can make faster than delivery arrives. Seriously.
One email. No spam. Unsubscribe anytime.
Instructions
- Mix the dry ingredients:
- In a medium bowl, whisk together flour, baking powder, and salt; set aside to create a light and airy dough.
- Cream it up:
- In a large bowl, beat the softened butter and sugar until it's light and fluffy—about 3 minutes—this is when the magic begins.
- Add the wet ingredients:
- Gently mix in the egg, vanilla extract, and lemon zest for a creamy, delightful dough.
- Combine the mixtures:
- Gradually mix the dry ingredients into the wet ones until a cohesive dough forms to get your hands ready for some rolling.
- Chill the dough:
- Divide into two disks, wrap in plastic, and chill for at least 30 minutes; patience is key to the best texture.
- Roll and cut:
- Roll out dough on a floured surface to about 1/4 inch thick, then use cookie cutters to create star-shaped delights.
- Bake your stars:
- Transfer the cookies onto lined sheets and bake at 350°F for 10–12 minutes; let the aroma guide you!
- Prepare the royal icing:
- Mix powdered sugar, meringue powder, and water until you have a piping consistency; this step is where your creativity starts to shine.
- Decorate:
- Color and pipe the icing onto cooled cookies, letting your personality burst forth with each design.
- Let them set:
- Allow the icing to dry completely before serving or packaging; trust me, the wait is worth it.
 Pin it
  Pin it
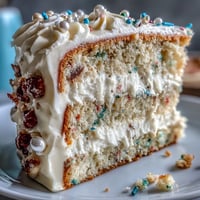
 There’s a special kind of magic the night before an event when you can witness how something baked with love can unify friends and family. When I bring out a tray of these starry cookies, it’s like a wave of joy washes over the room, and they suddenly become more than just treats; they become the heart of our gathering.
Different Flavors, New Experiences
Experimenting with flavors can turn these cookies from delightful to extraordinary. Almond extract, for instance, gives them a unique twist that friends seem to adore. Each new flavor is like drawing a new constellation in the night sky.
The Art of Icing
Creating beautiful icing designs requires practice but feel free to let your creativity flow! If the first cookie doesn’t turn out just right, remember; every artist has their 'not-so-great' days.
Final Thoughts for Perfect Cookies
Cookies shouldn’t be stressful; they should be fun! So invite a friend over and make memories as you bake together.
- Keep your workspace tidy to avoid any cookie chaos.
- Let your cookies cool completely before decorating for the best results.
- Don't stress about perfection—each cookie tells a story!
 Pin it
 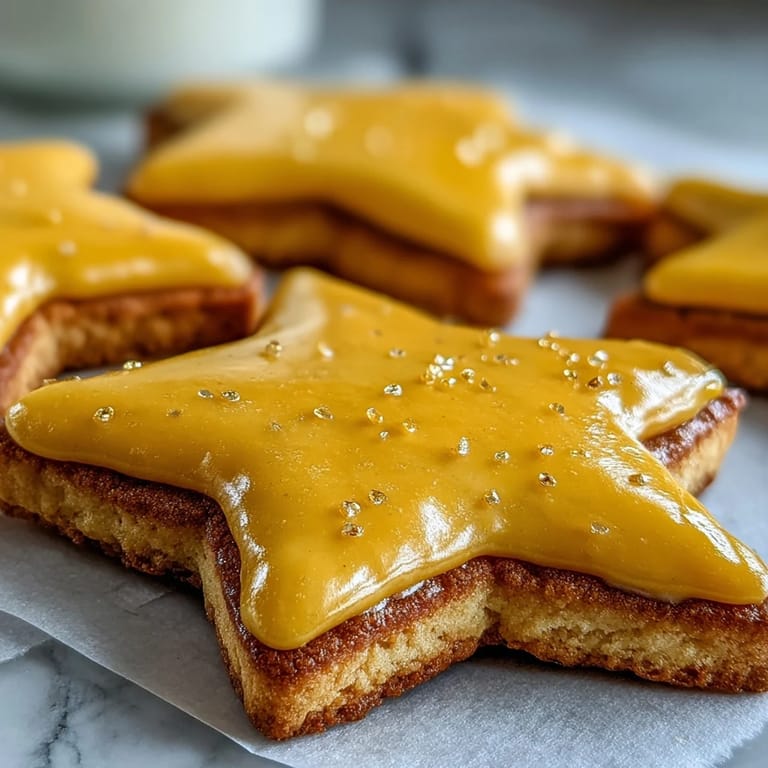 Pin it
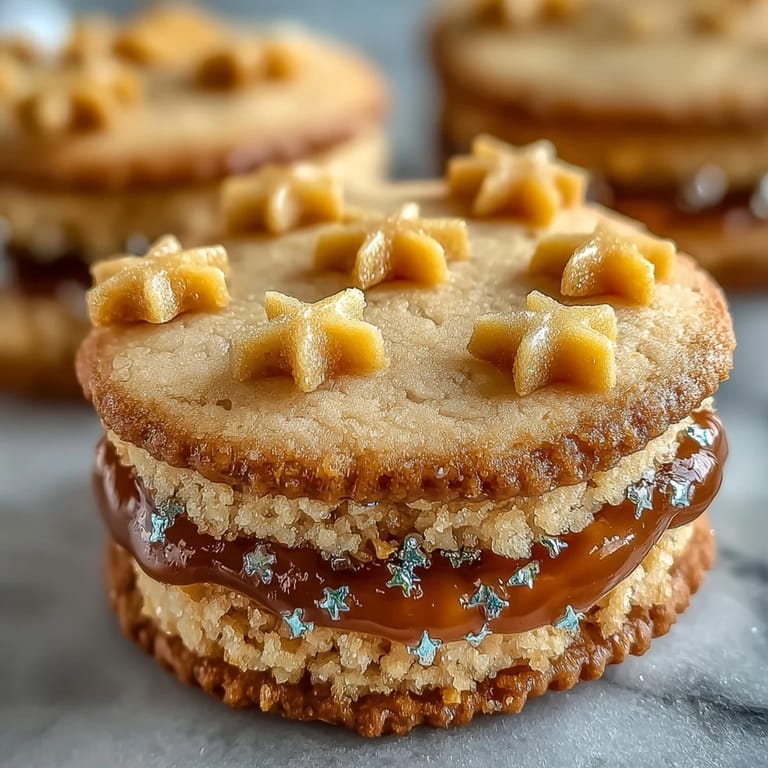
 These cookies are more than just a treat; they’re a celebration of creativity and connection. Whether it’s for a birthday or a casual afternoon, they’re bound to brighten any occasion.
Recipe FAQ
- → How can I adjust the flavor?
You can add almond extract for a unique twist. Try different citrus zests, like orange or lime, to enhance the overall flavor.
- → What other decorations can I use?
Besides edible glitter and sugar pearls, consider using colored sprinkles or cookie stencils for varied designs.
- → Can I make the dough ahead of time?
Yes, the dough can be prepared in advance. Wrap it tightly in plastic and refrigerate for up to 2 days before rolling out.
- → What variations can I try?
You can experiment with different cookie cutter shapes or use themed decorations for various zodiac signs.
- → How do I ensure the cookies stay crisp?
For crispier cookies, bake them slightly longer, but keep an eye on the edges to prevent over-baking.